If you’ve tried journalling before and haven’t found much success with it, or if you’ve long since wanted to begin journalling, but aren’t sure what’s an accessible entry point to start with, look no further than the humble bullet journal.
Bullet journals are a great way to schedule your daily routine, plan for future plans, tackle long-term projects, or simply meditate on the events of your day in a method that is looser than the classical journal, and implements visual and shorthand techniques to engage you in ways most diaries and planners can’t.

In order to start bullet journalling, all you need is two things: a writing implement, say a pen or a pencil, and a small journal that you can easily take with you on the go. Moleskins are a popular journal to use, but the term “bullet journal” comes in part from the use of bullet points in the daily logs, and the popularity of using dot journals as opposed to the more standard lined-paper diaries.
Once you have your journal and your writing implement of choice, it is time to begin.
Bullet journals were developed as a brainstorming and scheduling method by Ryder Carroll, an Austrian digital product designer and author. As per his method, the bullet journal’s classical form takes that of five major sections: index, rapid logging, logs, collections, and migrations.
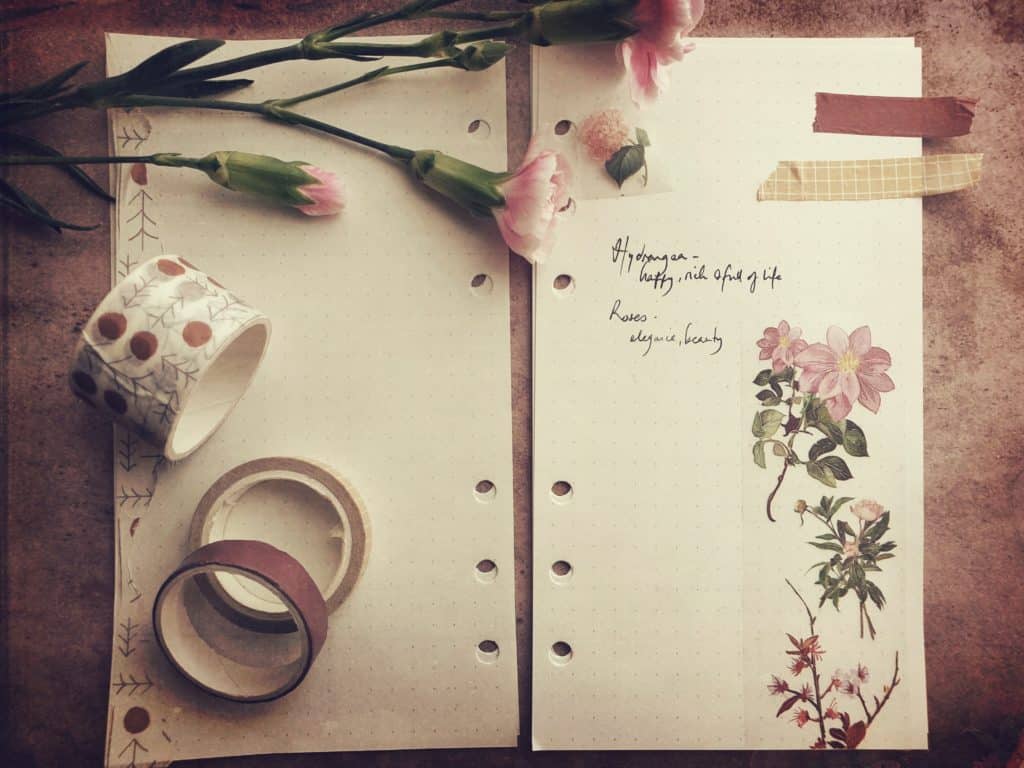
While his method doesn’t necessarily include visual aids, many bullet journallers find it very engaging to add visuals to their journals, such as illustrations or designs to add flavour and life to their daily logs. If that appeals to you, but you do not have much practice drawing, you might want to get a small sheet of stickers, and pepper them throughout the journal.

1. The Index
To begin with the index, you’ll want to have a few pages at the very start of the journal for this section.
Tantamount to the ethos of the bullet journal is the simple presentation of ideas and notes, often by using shorthand that makes sense to the journaller, and this is exactly what the index is for. The index is where you’d like to put short, clear explanations of the shorthand you use throughout the journal. For example, if you use gold star stickers next to tasks that you’ve completed, you can add a star sticker at the front of the journal, with a short key next to it explaining the meaning of the star.
While this might seem redundant for some shorthand, being that you are choosing that which makes the most sense to you, it helps maintain a sense of consistency for the entire bullet journal, making it more useful as a tool for reflecting on past thoughts and ideas. You do not need to have the entire index completed at once – simply leave yourself enough room to add shorthand and symbols as you begin using them in your daily additions to the journal.
2 & 3. Logging & Logs
The second and third portions of your bullet journal work hand-in-hand, those being rapid logging and logs.
Despite the similar names, they describe similar, but different functions: rapid logs are visual methods of organising information, such as circles, pyramids, and any other form of relaying details clearly and efficiently; logs, on the other hand, are lists and paradigms relayed on different time scales.
A log is a great method for breaking down complicated tasks into much more manageable sections, by presenting to-do items based on their importance to the short-term through long-term. It is this division of tasks that make bullet journals so appealing to creators and artists, because they make abstract, sometimes overwhelming projects with multiple moving parts much easier to keep up with.
4. Collections
The largest part of the bullet journal is the fourth section, the collections.
Collections are the part where bullet journalling comes closest to traditional journalling, with most journallers including daily entries about their progress.
The most common method of creating a collection page is to first title the page with the relevant topic – for example “Wedding Planning” or “Game Development” – with the page itself being full of looser, more freeform presentation of thoughts and information.
This is the place to include updates about long-term projects, changes in the progression, new ideas, or any other thoughts you might have throughout the process, anything that is relevant to the topic at hand.
The free associative writing style of these collections have lead many to describe the bullet journalling process as meditative, helping you clear your mind.
5. Migrations
The final part of the bullet journal is the migrations, which can be difficult to understand at first.
A migration is an aspect entirely unique to bullet journals, and involves the movement of tasks, ideas, or goals from one period of time, most commonly a month, into future portions of the bullet journal.
While this can be hard to represent physically, this metric makes it easier to plot out change over time, as well as keep track of what is left to be done in a particular project as time goes on. If, for example, the topic of your bullet journal is physical exercise, the migrations portion can be workout goals, which can then be plotted to show evolution over time.
Now that you have all of the basic portions of the bullet journal, what’s left is to make it your own! While some bullet journals are tools for organising thoughts and that alone, many choose to have them be more representative of their interests and personality.
Shopping for bullet journals with covers that interest you is a good place to start, whether that means finding your favourite colour, or one that has quotes or images that speak to you.
Similarly, choosing how to design beyond the basic building blocks of the bullet journal is also a chance to bring your creativity to the table – selecting pens and coloured pencils that can create a more visually interesting journal, creating your own shorthand that makes sense to you on an individual scale, and maybe even adding scrapbooking elements to build up the visual feast of the bullet journal.
All in all, these are only general guidelines and you don’t have to follow them to the tee; there are no wrong steps in journalling, except for never starting!


