
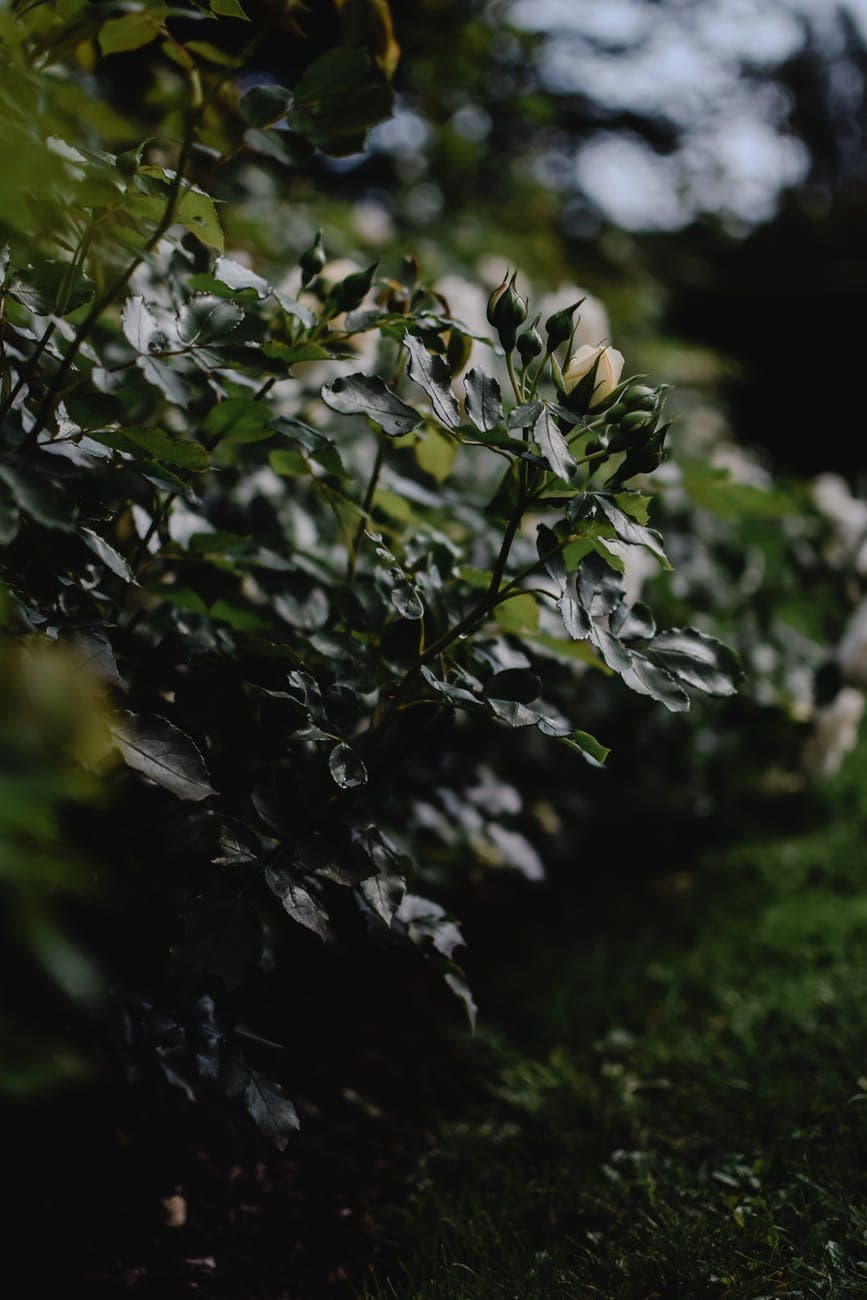
It’s that time of the year again, your garden is about to blossom with hundreds of roses in the coming weeks. In fact, some odd ones here and there may have already started to bloom. The sun is out with very little wind and it’s the perfect time to take out your watercolour set!
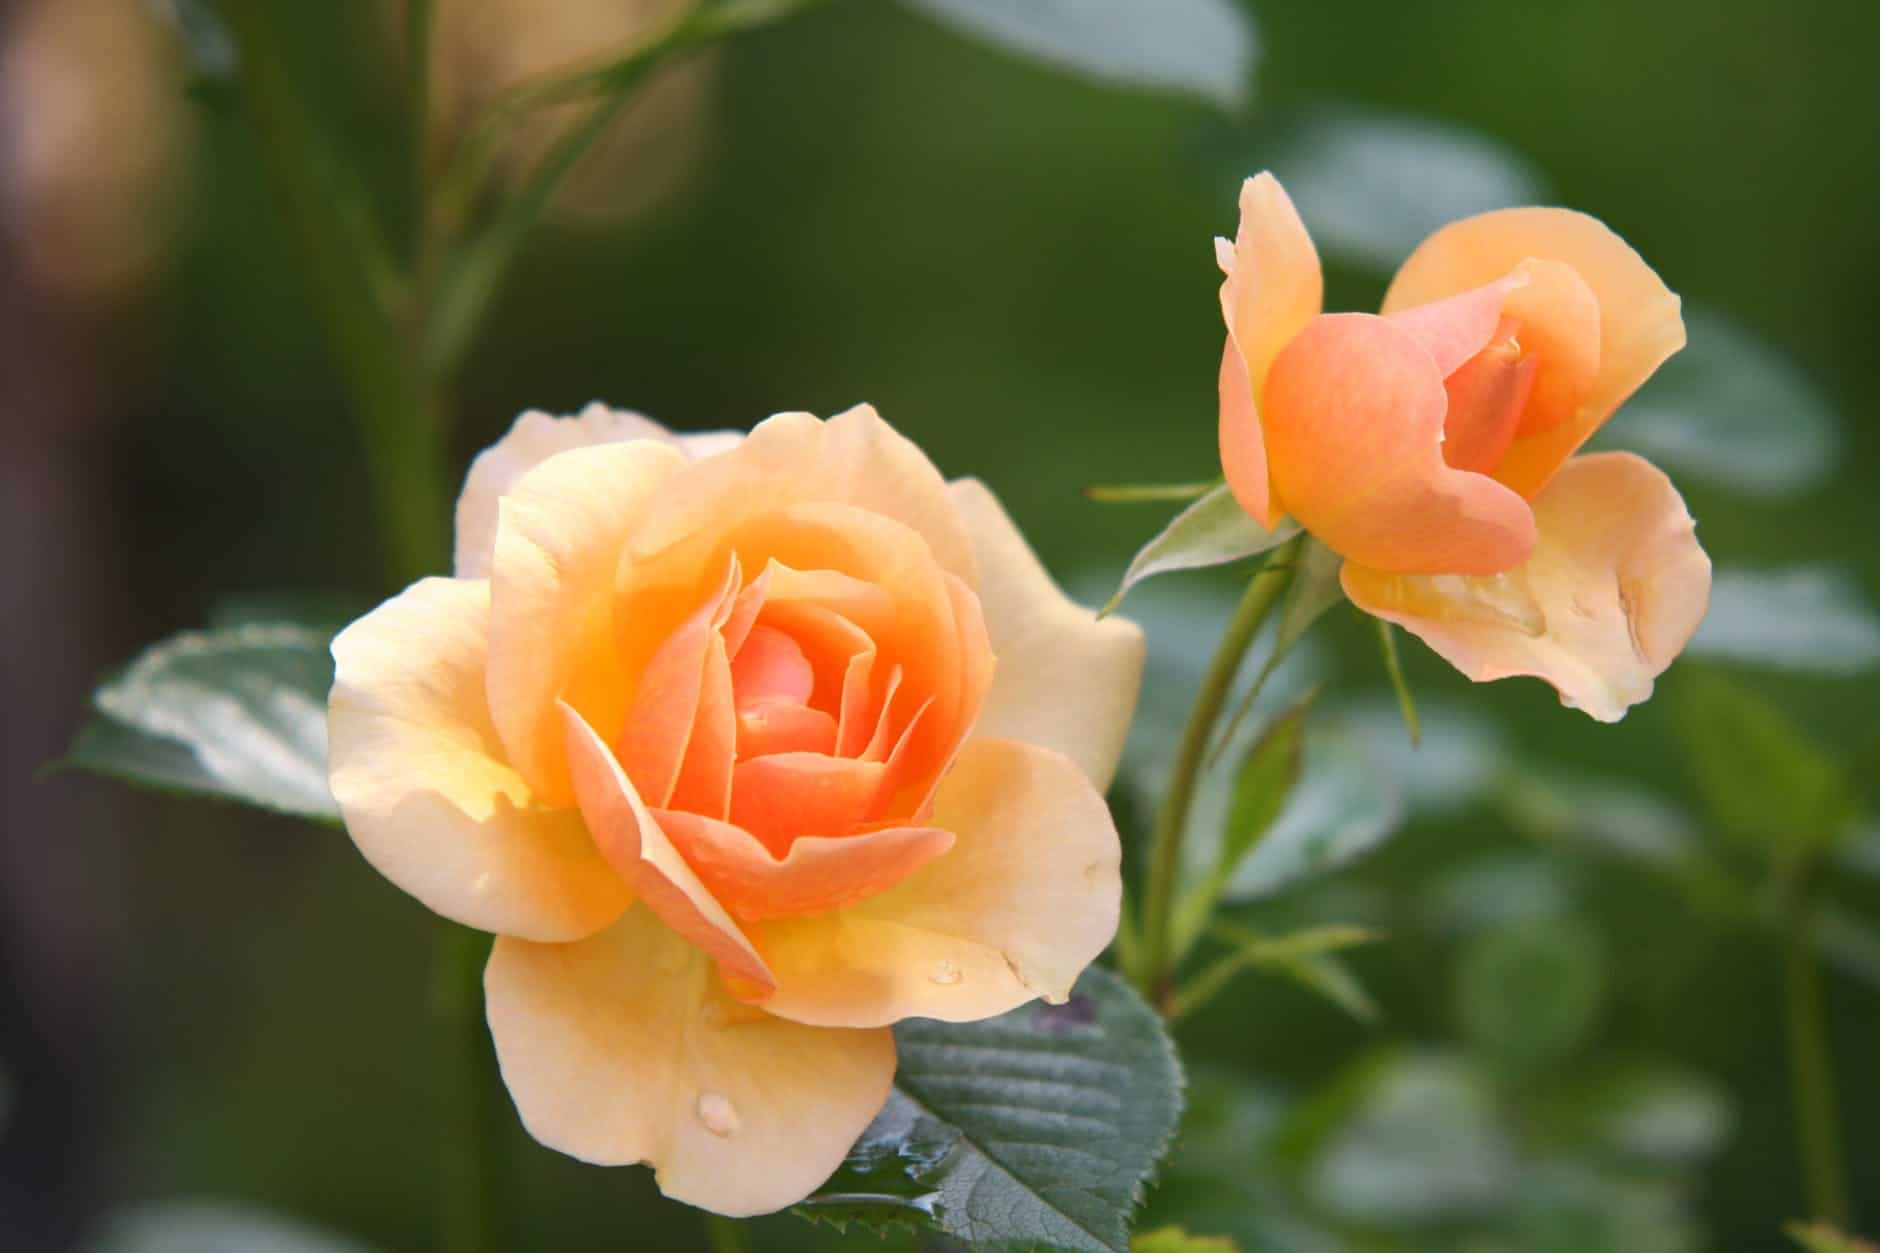
Peach roses are known to symbolise sincerity and gratitude. A painting of a peach rose held within an antique frame, whether it’s an original or print, would be a perfect gift to say “thank you” to someone who has shown you kindness. They would also make a wonderful handmade card centrepiece for craft enthusiasts. Peach roses are so pleasing to the eye as they bring the sweet, floral scents of blooming rose gardens to mind every time we start painting them 🙂.
Drawing The Rose…
The first step is to make a faint rough sketch of the rose starting from the inner, then middle and eventually the outer petals. Depending on skill and experience, it may take a few rubbing outs and re-drawings to achieve the perfect rose you’re looking for.
As soon as you’re satisfied with the faint sketch, you can go over it once more with a slightly darker line, preferably with a coloured pencil in the same colour of the rose.
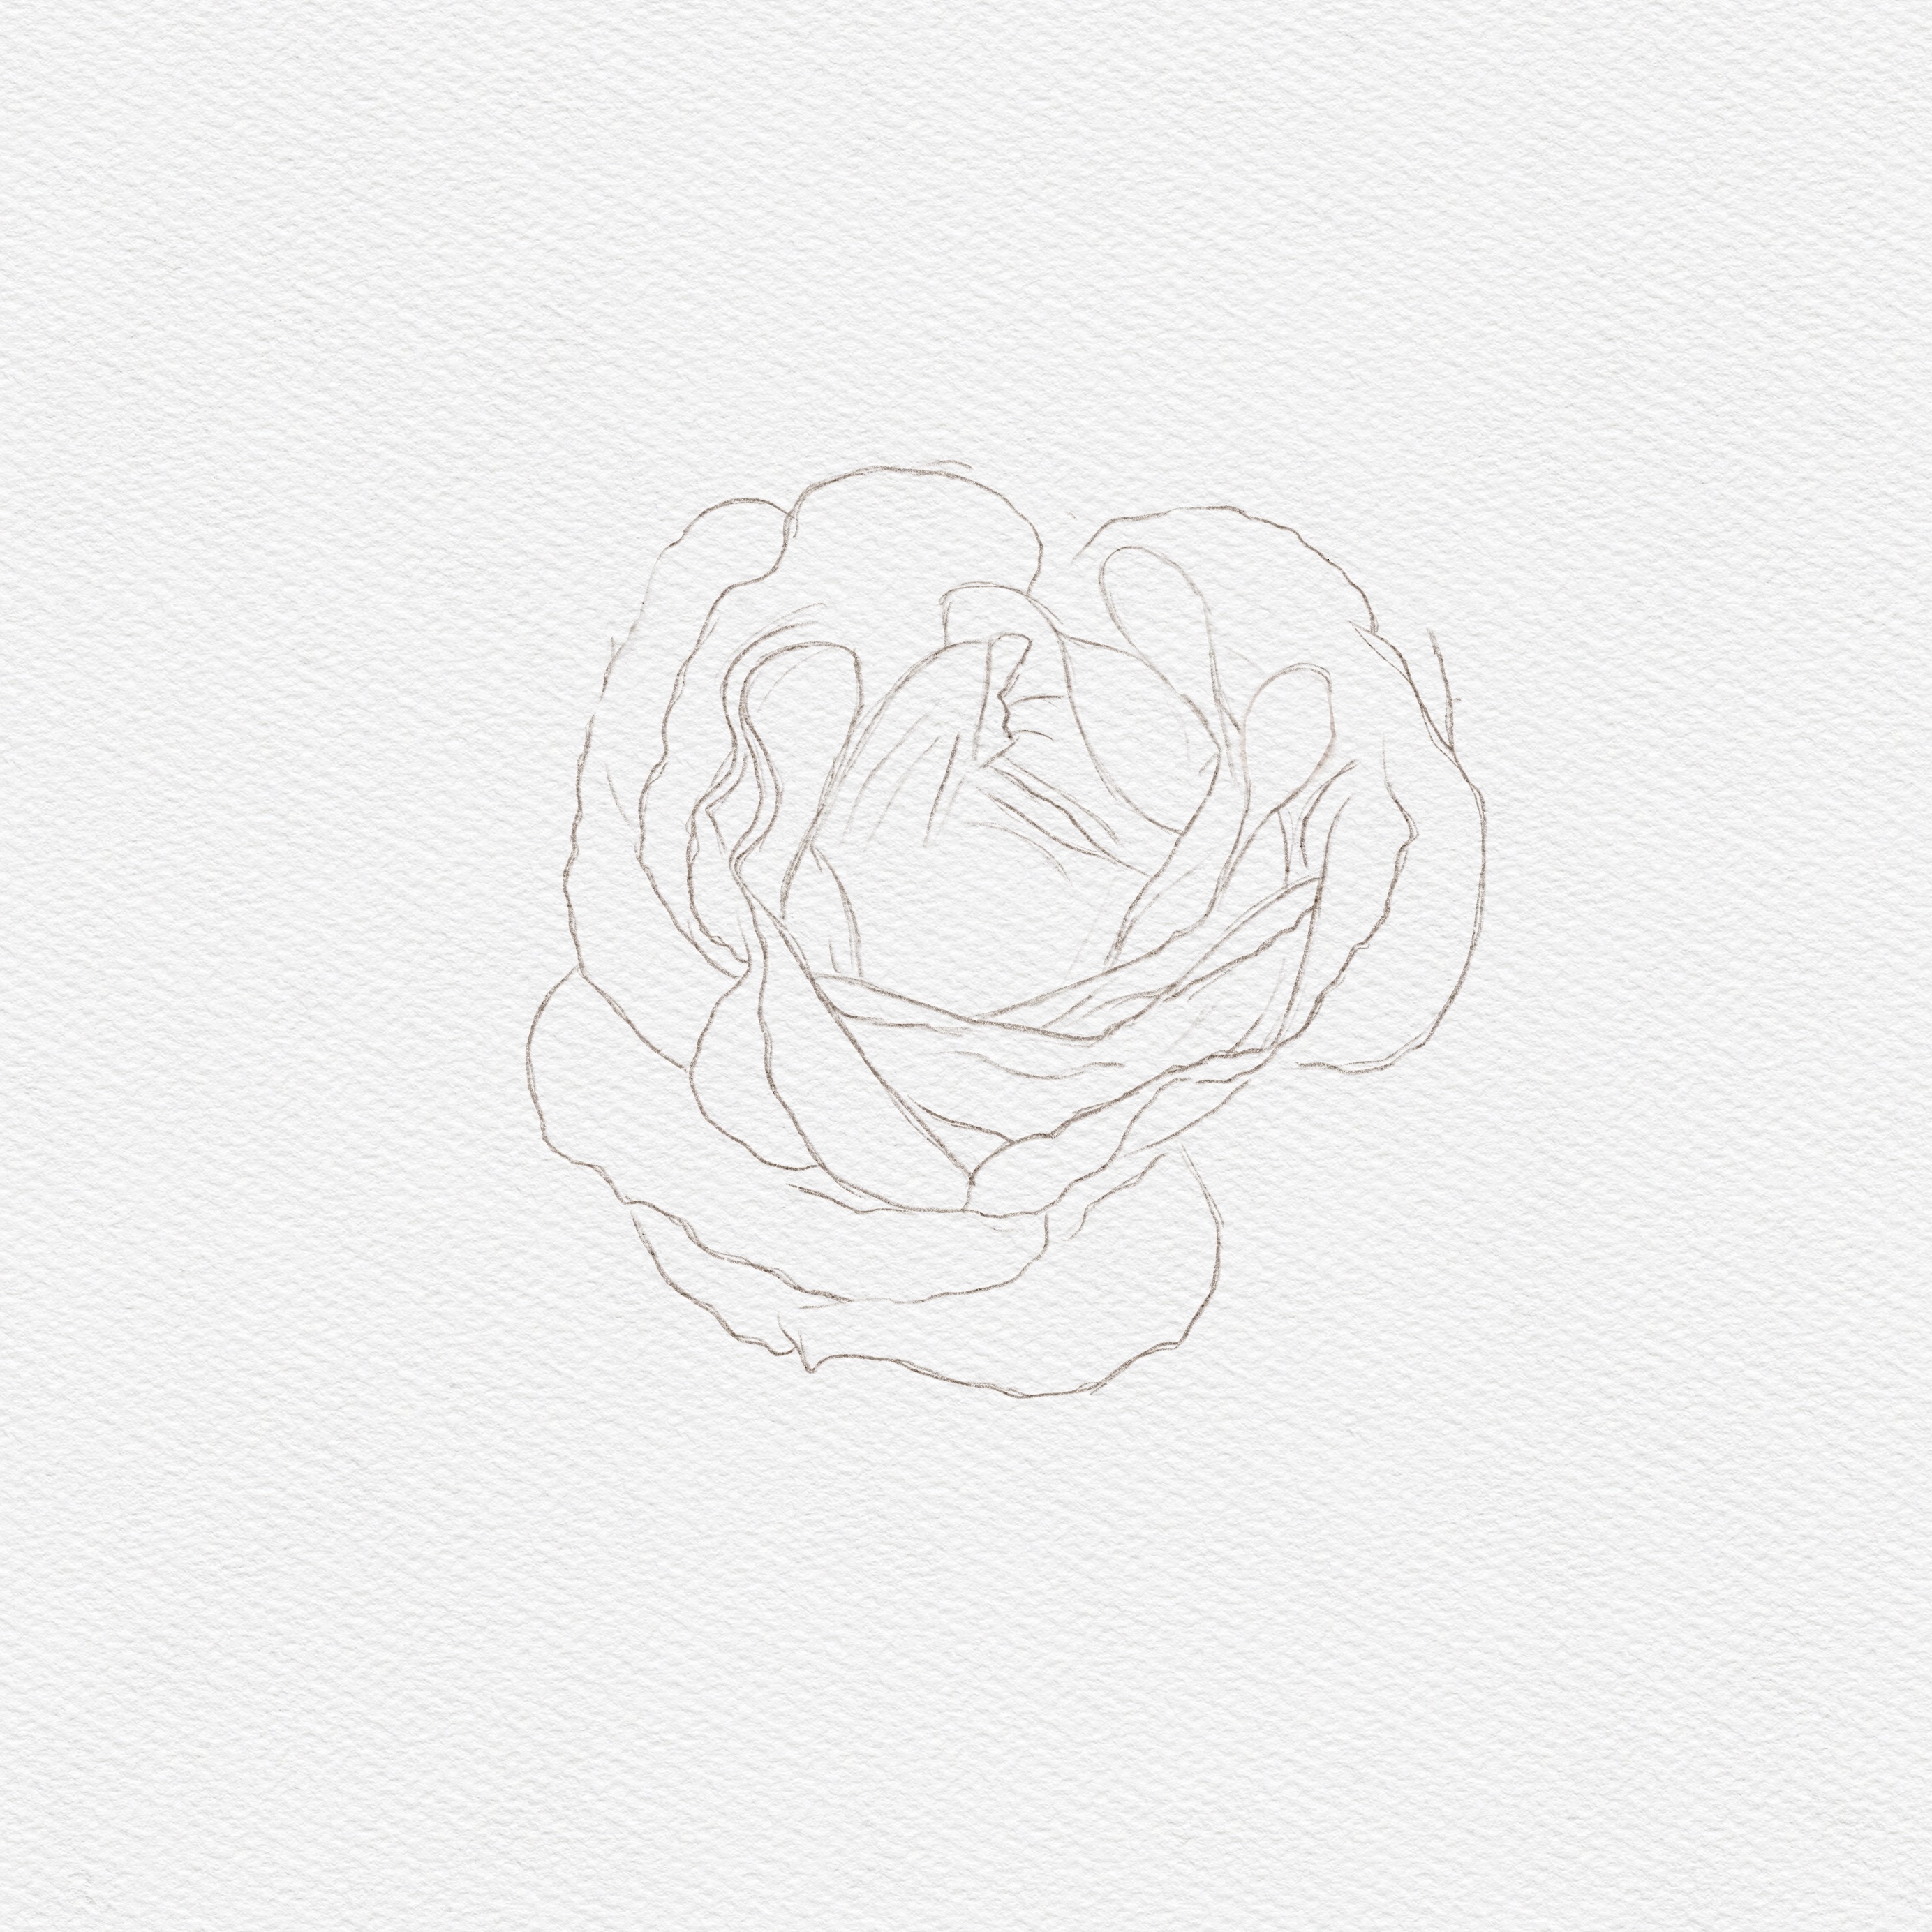

Painting a perfect watercolour rose begins with the sketch. Procreate offers several options for a pencil line, so begin with choosing a light and thin pencil to draw out a detailed outline for your peachy rose. By taking a closer look at the roses, will provide a lot of the depth to your artwork and contribute realistic elements to your watercolor rose.
Begin in the centre of the rose, and start sketching outwards with short strokes, steadily expanding the rose and creating larger petals moving outwards. A tip on creating a rose sketch is to think of a vortex or cylindrical shape and gradually create soft outward and angular strokes to evoke a three-dimensional effect. Take some time to focus on creating the shape and outline with a light sketch.
Once you have worked at the beginning of the centre of the rose, you can start expanding the sketch, adding larger and larger petals. The key shape to replicate is a soft triangle, with a stacked-like feature to create the shape of the rose. Add curves and waves to the petals for a natural look.
When drawing a rose, a way to create a lot of depth and some realistic elements to your painting is to create a “rolled” effect on the rose’s petals. This is particularly important towards the centre of the rose as the depth can be easily conveyed in this area. A rose has a “peel out” effect, almost like peeling back an orange. With this in mind, you can create a sketch with an opening effect that the watercolour paint can then breathe life into with shadow watercolour work.
Moving away from the centre as you sketch, the petals grow larger and fuller. When creating your sketch, keep in mind that you will add light and dark areas with your watercolour paint to create a realistic rose. With this in mind, you can draw in the light and dark spaces on the sketch that will be effectively shadowed on the final piece of art. Keep the lines natural and open as you create the basis for your drawing.
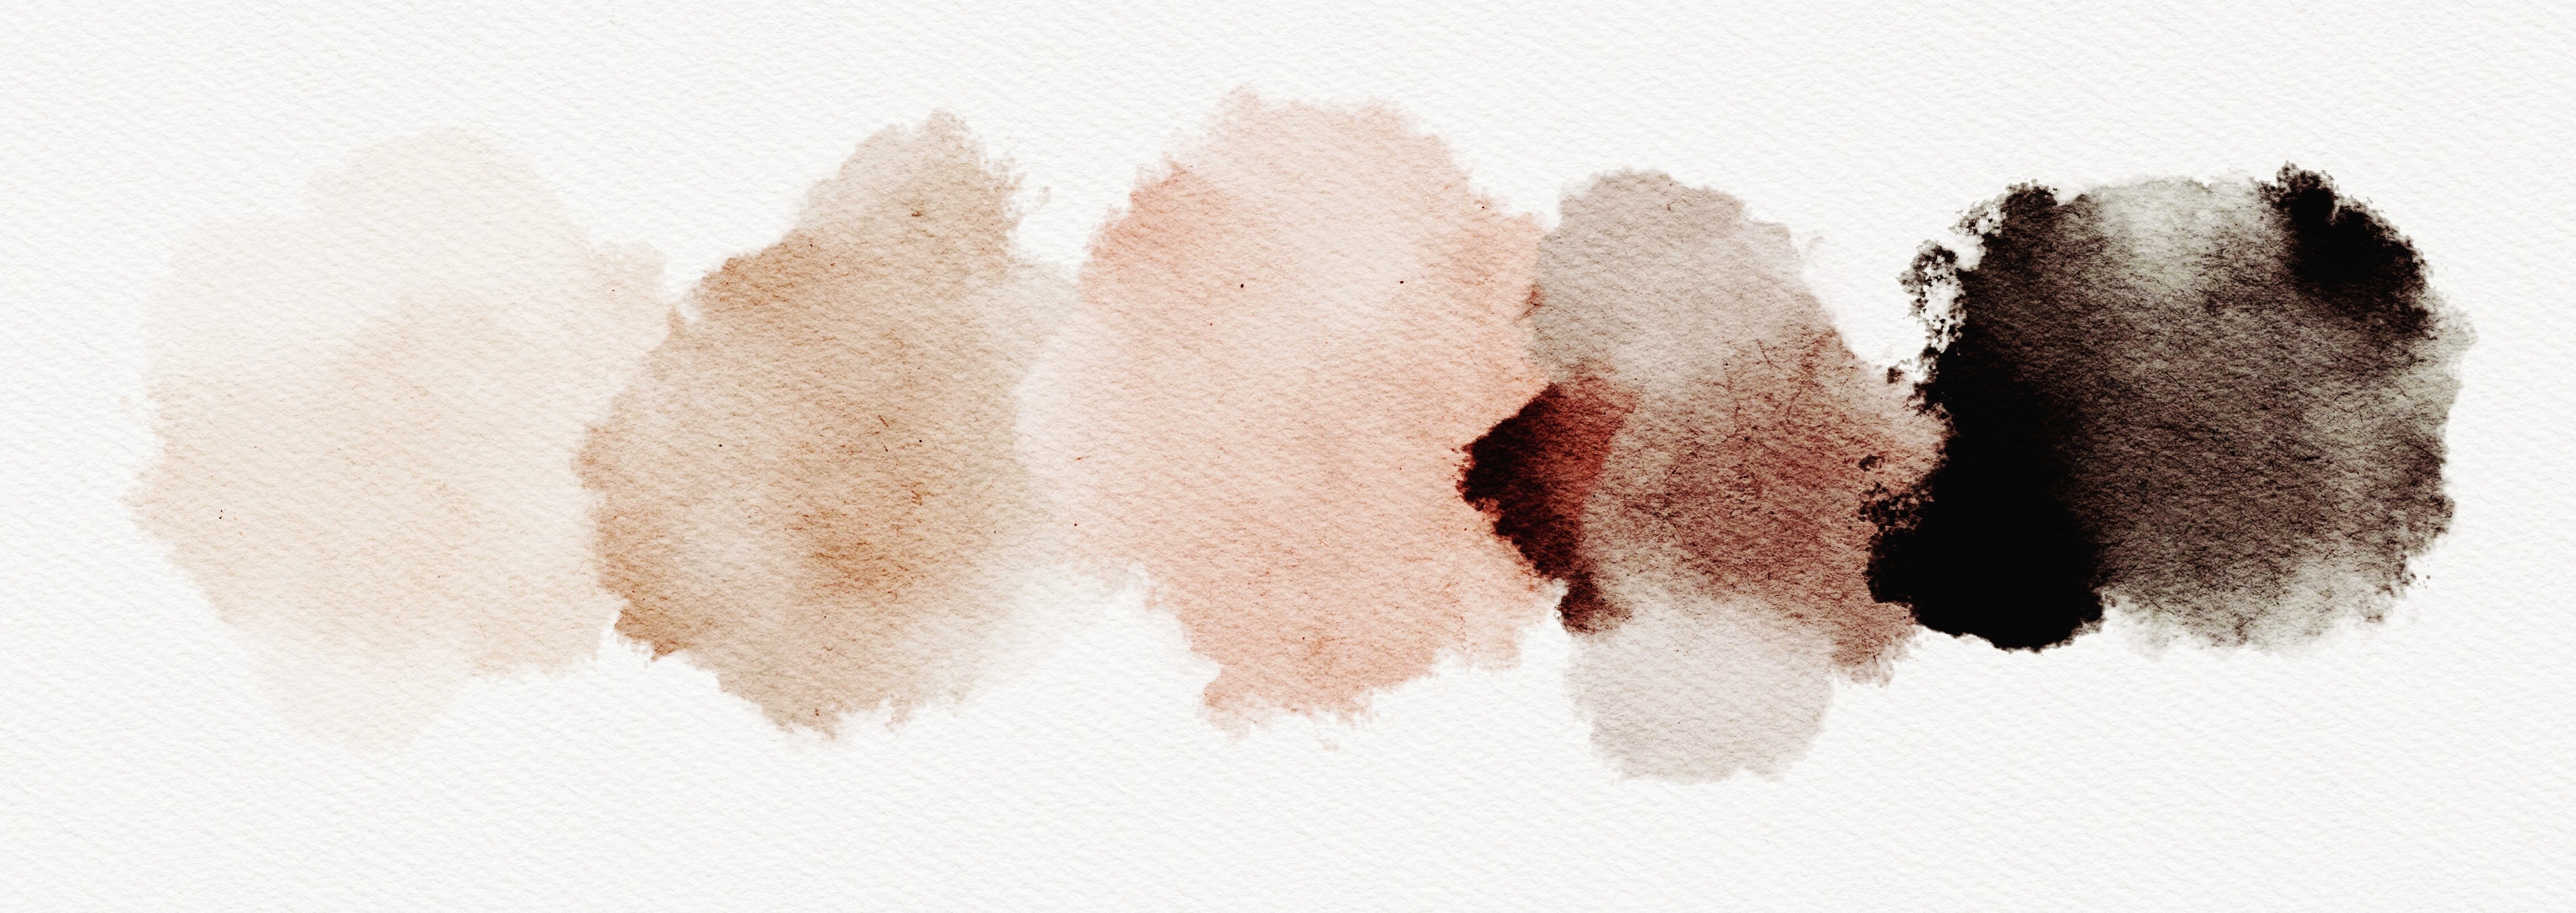
The next step is to take out your watercolour paints and experiment with the colours; make sure you’re happy with the colour before painting on paper 🙂
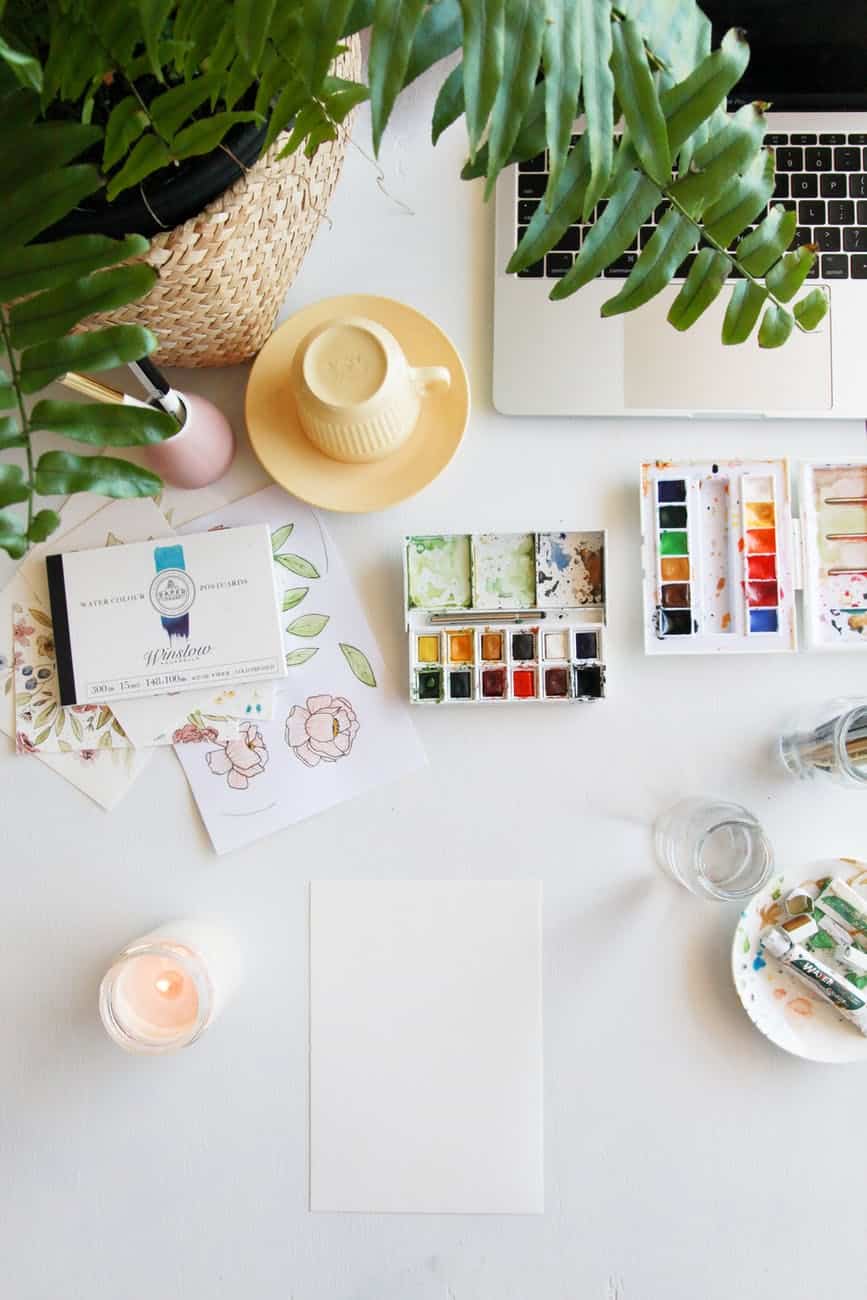
To make an antique peach colour, simply play around with mixing “reds, oranges, yellows and browns” until you get the perfect shades
Step-by-step photos of how to paint watercolour roses…
You will notice from the pictures below of the watercolour roses that there are layers of shadows with varying levels of depths, which show the petal details and give the roses their three-dimensional appearance.
The first layer is a simple washout, no need to worry about details yet. Then, carefully colour in the shadows layer by layer. The deeper the shadows, the darker hue you need to get with the shade – gradually adding tiny drops of brown/black will make the shade darker and darker.


Once you have a great sketch, you can begin adding colour to your rose with a simple washout. The sketch stage may require some editing, erasing, and redrawing, but it is worth creating an effective sketch where the basis for watercolour can be added. If you are using a digital platform like Procreate, it can be helpful to use the zoom-in feature to get the details you need for the centre of the sketch.
With your sketch, you will do a washout for the basis of watercolour on the peach rose. Working on a Procreate platform, you can also use the layers feature at this point to help create an effective rose. Use a peach colour that is a light to medium wash for this layer.
This washout layer creates a basis for the watercolour and depth of the painting on your rose. A washout is used for the background of the rose to add layers of colour to the picture. Focus on creating an even washout without creating too much pigment with this layer.
Use your colouring skills and create a great base layer of diluted pigmentation. The wavy edges of the rose should be focussed on in this layer. This is one of the light areas of the rose that won’t require any depth with a shadow.
Once your washout layer is completed, you can begin creating dark and light areas using a more concentrated paint solution. The key to creating great shadows is to deepen the colours gradually. Select a slightly darker pigment than your washout to get started with the shadow on your peach rose. This is where the peeled-back nature of the rose will be emphasised as you create the shadow areas.
Tip: the shadow works from the inside out. The light areas will be in the edges of the petals, with the darker areas focused on the inner layers of the rose. In a first shadow layer, concentrate on keeping the shadow close to the bottom of the petal. You can build on this in the next layer and expand the shadow.
Focus on creating a little more depth gradually and steadily on the petals. You will notice that the second layer of shadow creates a light and dark effect between the petal above and the base of the petal below. This shadow will create an excellent 3D effect on the rose, which can be built on with the next layer of watercolour.
Continue with layering the shadow of the rose as you create depth in the watercolour while keeping the integrity of the light and dark areas of the rose. Progressively darken the peach watercolour paint and start increasing the depth of your rose. Use the layers option in Procreate so that its easy to “undo” any shadows on your peach rose. Shadows in watercolour can take some practice and a bit of trial and error, so take a few practice rounds on your rose. It is easy to replicate the beauty of a natural rose once you have got the hang of the shape, depth, and watercolour technique.
Creating a peach rose in watercolor may take a bit of skill and finesse, but the rose can be utterly eye-catching with all the possibilities to create a three-dimensional, and depth-filled rose in Procreate. The technique can take a few tries to master, but there are so many possibilities to apply it to other watercolour florals. Use this peach rose watercolour tutorial to learn a few skills and begin creating your own watercolour garden.
With so many lines and details in watercolour roses, it may be confusing getting the shadows in the right places. The key thing to remember is that for ‘each and every petal’ the shadow is always in the inner petal that is towards the core, then going lighter in shade as you go towards the outer petal.
As you fill in the shadows with darker shades, the painting will start to look more and more like a three-dimensional rose. You can continue painting and perfecting out the rose wherever it’s needed until you’re finally happy with the look.
For the above painting, we used Procreate as our digital art canvas. It’s simple to use and creates art that is very true-to-life. As you can see, the end result of this digital painting is almost indistinguishable from a physical canvas watercolour painting. It has a variety of colours in the peach and terracotta range – soft, earthy, nature-inspired tones.
Paint from Real-life or reference photo, on paper or on a tablet?
Can’t decide whether to paint from real-life or reference photo, on paper or on a tablet?
Well, it’s all personal preference!
The main benefit of painting from a photo and/or on tablet is just the convenience – paint wherever, whenever.
However, many experts believe that the traditional method of real-life painting is still the ‘better’ method for many reasons.
We think that’s because it can improve your artistic skills by miles, since you will be using your imagination and skills a lot more when painting from real life than from a reference photo. (It’s a bit like, when doing school coursework, simply copying won’t increase your learning, knowledge and understanding – but understanding the question, thinking hard of the answer will exercise your brain and help you provide better answers in future assessments.).
But all in all, there are pros and cons in both methods, and everyone has their own personal preferences!
You may also like…
- Step-by-Step Watercolour Painting Tutorial: Peach Rose (In Procreate)
- Step-by-Step Watercolour Painting Tutorial: Flower Branch With Blue Butterfly (In Procreate)
- 3 Tips on How To Think More Creatively
- Digital Oil Painting Flowers in Procreate
- Creating Art in Procreate, Your Digital Sketchpad
- How To Paint A Realistic Watercolour Hydrangea Flower
- Learn Watercolour Rose Painting In Procreate (Time-lapse)
- Step-by-Step Watercolour Painting Tutorial: Antique Peach Roses (In Procreate)